Showing posts with label 3D Modelling. Show all posts

Thursday, July 29, 2021

Creating a 3D Roof in AutoCAD

 I made a few new videos to create a 3D roof in AutoCAD. You can get some excellent results when you model in AutoCAD. Have a look at the following:


Video Part 1

Part 1 - Creates a simple roof with a layer to receive a shingle finish.

Video Part 2

Part 2 - Creates a more complex geometrical finish to represent a standing seam roof.


Thursday, August 13, 2015

It's published..!


My first course with Digital Tutors has recently been published. To go to the course click the link below:

Modeling Residential Exteriors in AutoCAD

Saturday, April 19, 2014

New AutoLisp for 3D Pivot Door

I've been working on a simple pivot door script to use in AutoCAD. You can download the file here.

Here is how the script works.

Command: sd 
Chose the wall to insert the door: (Select the 3D Solid that represents the wall)
Select objects: 1 found
Select objects: (press enter to finish the selection) 
Pick lower left corner of door: (pick location on the hinge side of the door)
Pick upper left corner of door: (pick a perpendicular point on the other side of the wall) 
Indicate width of door: 36 
Indicate height of door: 80


Enjoy..


Saturday, January 18, 2014

AutoCAD Lisp Command to Draw Windows

Although there are a number of ways to create architectural 3D CAD Models, AutoCAD still remains as a major modeling tool in my day to day work. The problem remains that AutoCAD does not contain the modeling capabilities of Revit Architecture. So I have spent a fair amount of my down time at my job developing tools to accelerating 3D modeling within (vanilla) AutoCAD. I thought I would share with you some of my experience, and develop some new commands that you can have fun with, and hopefully help you with some of your AutoCAD modeling projects.

Here is a command which will create a simple window based on selecting 2 points on an opening which has been created in the facade of building.


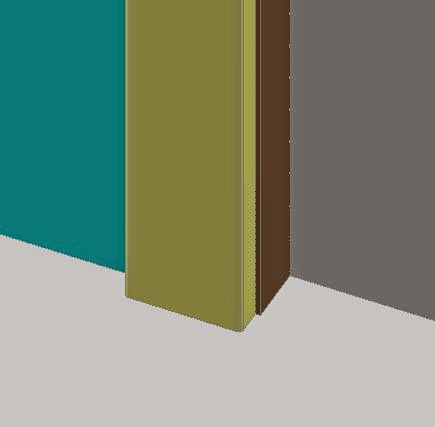
The UCS should be oriented parallel to the face of the building. Then you would select the lower left corner followed by the upper right corner. The window is then created automatically.

The window command creates 2 layers for the window frame and glass, and places those objects on those layers automatically. In the above illustration, I've recessed the objects by moving them after the fact to improve the illustration.

You can download the Lisp routine here

Or use the following URL: http://www.mediafire.com/download/pav98m98q418r9q/Window.lsp

Have a good one, cheers


Update to Window.lsp click here

Wednesday, August 22, 2012

New Lisp routine for Soffits

This week I had some free time at work and created a soffit AutoLisp routine. After Selecting the Facia, and indicating the 3 points of the facia slope, it prompts for the depth of the soffit. The rest is Automatique..!