Well, I'm going to try to stay positive here, because that is a good thing.
Over the last few months, I thought about adding some of my opinions to this site rather than only a few tutorials and pics. So here goes, Rant #1, it's target, Simplicity.
Let's start with a question. There is all this technology in your life today, much more than say 10 years ago, but, is your life simplier now than before?
Is your answer no..? Wasn't the promise of technology to make life simplier for us..? I seem to remember that promise.... Do you remember the term "User Friendly", man we are so far from that concept that nobody even uses that term any more. How can a computer be user friendly when I still have to climb under my desk almost everyday to hook up and disconnect something.
So what went wrong? IMHO many things; feature bloat, awful user interfaces, lack of effective training, and acronymns...:-).... It's like learning a new language... IMHO (In my humble opinion)..Aie.... People, really, let's say once and for all, humans use their computers generally above on top of their desk.
I think everyone can come up with examples of something they simply hate and something they can't live without. For example, I almost dread opening a new gadget these days because I know what's coming, "The Manual". You know when you get down to it, do you think there is something wrong when I have to read a manual to make a phone call..? I have a 200 page manual in my car, but when I picked it up at the dealer, they took 2 minutes to show me a couple of things different about the car and away I went... Only cracked the manual when I had to change the clock for the radio / DVD player (Don't get me started..)
I have to admit though, There are things I can't live without, such as spell check and Google. I could not do my job without spell check. I don't know how I would find answers to things so quickly without a search engine like Google. When I think about it I could probably do without these things but they sure would take a whole lot longer.
Seems to me that we could make our gadgets work in a simple fashion, Spell check is simple, Google is simple, Switching from one car to another is normally simple. Why can't cell phones, digital cameras, and the holy grail of simplicity - computer hardware and software -- be simple.
Just the other day, I picked up my son's iPod, and played back some music, navigated, turned it on and off, all in a few minutes, no frustration, no manual. WOW.
Friday, February 09, 2007


Saturday, December 09, 2006
New Images from Upcoming book
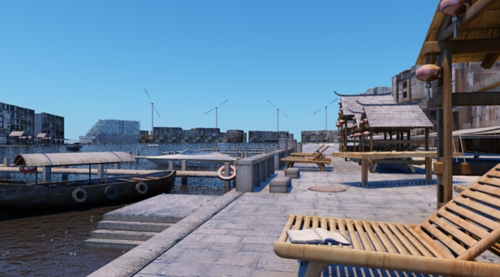

Just wanted to post a couple of images which are up and coming from a book which I am working on with a 3ds max artist in England. Jamie Cardoso is a phenomenial 3D Artist who has used 3ds max and Mental Ray for a long time. His work is so exceptional that Autodesk hired him to contribute his images, and know how, so a book like this could be created.
More Information on the book can be found at:
http://books.elsevier.com/us/focalbooks/us/subindex.asp?isbn=0240809122&country=United+States&community=focalbooks&ref=&mscssid=HLWWVGB00PCQ9K3XB3W98GRGMQDL22N5
Tuesday, November 07, 2006
Photos from NYC
This summer I visited New York and took a few architectural photos. I thought I'd share them with a few comments.
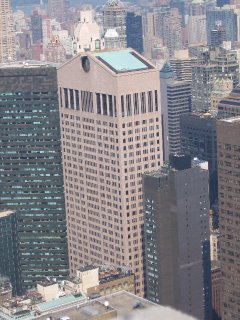
Ground breaking architecture during my formative years learning architecture at McGill. Phillip Johnson designed it. started a movement called post modernism. Building was originally comissionedand occupied by AT&T.
Chrysler building lobby, unfortunately this is as far as you can go. No access to the upper floors.

Ground breaking architecture during my formative years learning architecture at McGill. Phillip Johnson designed it. started a movement called post modernism. Building was originally comissionedand occupied by AT&T.
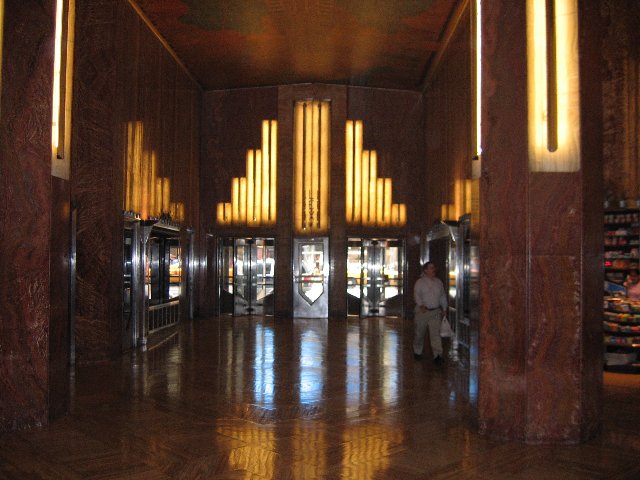
Chrysler building lobby, unfortunately this is as far as you can go. No access to the upper floors.

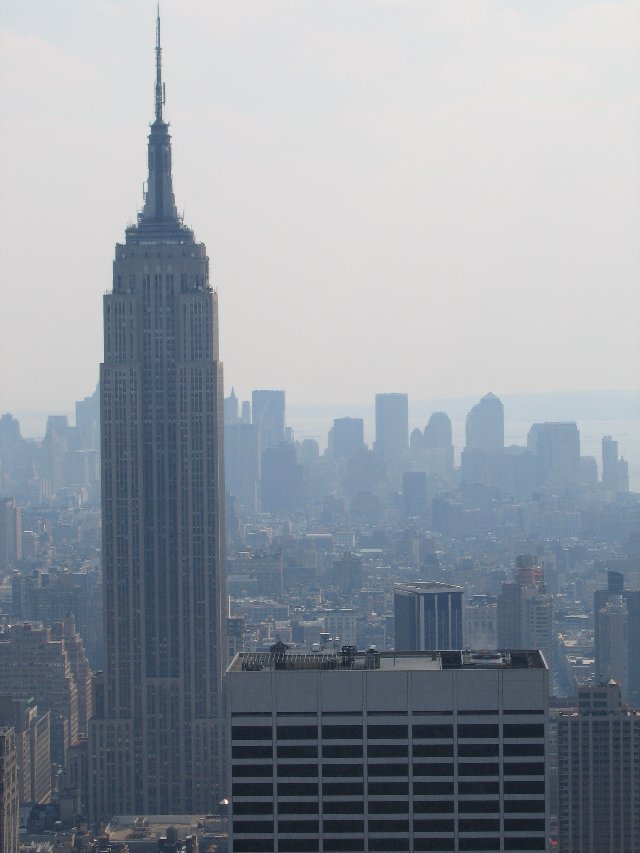
Rockfeller Center plaza, great place to chill on a hot summer afternoon. The Rock as it has been labeled has a new vocation as an observation deck. Much less crowded than the Empire state bldg. You can see the empire state building from the Rock's deck....
.
.
.
.
.
.
.
.
.
Bit of a hazy day, but the Empire State Building in all it's glory.
Thursday, October 12, 2006
Recent Images

This image was created to work on a landscape in front of a building. The building itself did not get much attention. A bionautics tree was used in the foreground, and mental ray's Arch + Design material for the water. (October 2006)

This TV unit was done for a local furniture manufacturer. the wood was of particular interest to the company. pictures of the actual wood grain were incorporated into the Arch + Design material in mental ray. (September 2006)
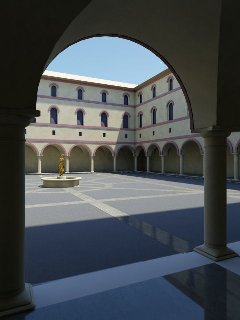
This image was created for Autodesk's 3ds max 9 essentials courseware to show an introduction to the new mental ray Implementation in max 9. (August 2006)
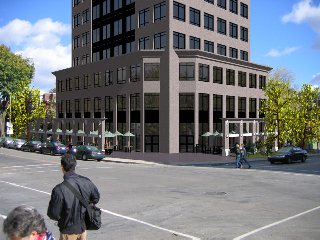
Photocomposite image created in 3ds max 8 (Summer 2005)
Sunday, June 04, 2006
Vertical Compound Walls - Revit
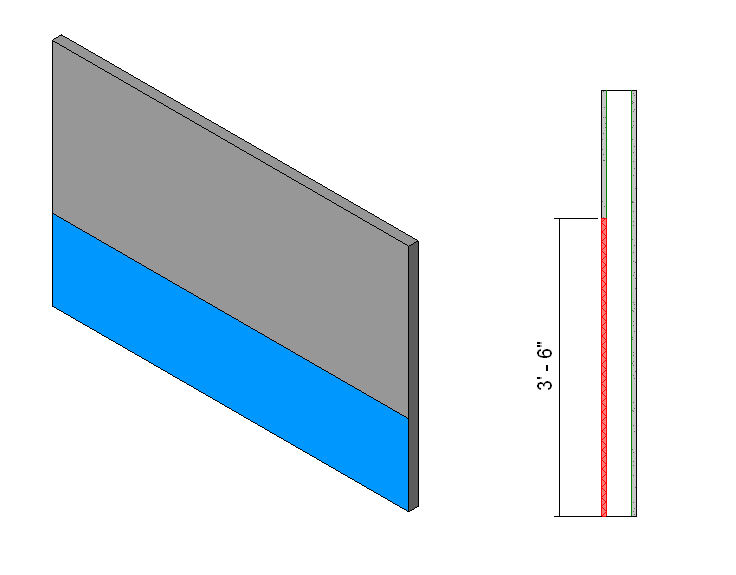
Changing Wall Materials Vertically.
I decided to write out the following simple exercise because I found it difficult through much of the documentation to figure out how to create a wall which changed from one material to another vertically. There appears to be 3 different methods of creating walls which change materials vertically. Example 1: a fairly simple transition where the wall profile and thickness does not change. For example a bathroom wall which has tiles to about 3’6” (1050 mm) then the remainder of the way gypsum board.
1/ Create a new project in Revit using the default.rte imperial or metric template file.
2/ Select the Wall Tool in the Design Bar.
3/ Select the Properties Button on the options bar.
4/ In the Element Properties Type List Select the Interior – 4-7/8” (138mm) partition (1-Hr.) wall.
5/ Click Edit New.
6/ Click Duplicate.
7/ In the Name Dialog Enter, Interior - Bathroom Partition.
8/ Click on the Edit button next to the Structure parameter.
9/ Click on the Preview button in the lower left of the Edit Assembly dialog.
10/ In the view pull down list, Select: Section: Modify type attribute.
11/ Change the Sample Height to 5’-0” (1525mm).
12/ Right Click in the Sample area and Select Zoom to Fit.
13/ Select the first row (#1) of the Layers of the wall.
14/ Click on the Split Region button in the Modify Vertical Structure area.
15/ Click in the section view on the highlighted side of the wall. Approximately 3’-6” (1050mm) from the bottom.
16/ Click on Row number 1 in the Layers area.
17/ Click on the Insert Button.
18/ Change the Function of the new row to Finish 2 [5].
19/ Change the Material to: Finishes – Interior – Tile.
20/ Change the Shading color of the Interior Tile material to blue.
21/ Click the Assign Layers button in the Modify Vertical Structure area.
22/ Click on the lower section of the region you split earlier. The New Tile Material is assigned to this area.
23/ Click Ok until you exit all dialogs.
24/ Draw a Wall Using this new wall structure and view it in a 3D view.
25/ Set the shading mode to Shading with Edges The blue shaded area is the area is the area with the tile finish.
Subscribe to:
Posts (Atom)